Get a 100% free virtual machine on Google Cloud
Learn how to set up a free compute instance on Google Cloud using Terraform. Save costs on small projects.

Introduction
Google Cloud Platform (GCP) offers a generous Free Tier that allows users to run certain resources at no cost. This blog post will guide you through setting up and managing a free compute instance on GCP using Terraform, an infrastructure-as-code tool.
By the end of this guide, you’ll be able to:
- Set up a Google Cloud project.
- Use Terraform to provision a free-tier compute instance.
- Securely connect to your instance via SSH.
- Clean up resources when no longer needed.
Let’s dive in!
Why Use Google Cloud Free Tier?
Google Cloud offers several services under its Free Tier, allowing users to experiment and build projects without initial costs. The Compute Engine free tier includes:
- 1 vCPU
- 1 GB of memory
- 30 GB of SSD storage
- 2 GB of swap space
These resources are more than sufficient for small-scale applications, personal projects, or learning purposes.
Setting Up Your Google Cloud Project
Before we proceed, ensure you have:
- A Google Cloud account with billing information set up.
- Terraform installed on your local machine.
Step 1: Create a Google Cloud Project
- Go to the Google Cloud Console.
- Click on Select a project in the top bar and choose New Project.
- Name your project (e.g.,
free-kube) and click Create.
Step 2: Enable Required APIs
- Navigate to the APIs & Services dashboard.
- Search for and enable the following APIs:
- Compute Engine API
- Identity Platform API
- Download JSON credentials from your service account. See here.
- This ensures Terraform can communicate with GCP services.
Using Terraform to Provision Your Instance
Terraform simplifies infrastructure management by allowing you to define resources in plain text files (HCL - HashiCorp Configuration Language).
Step 1: Initialize Your Project
Clone this Github repo to a directory locally:
1
git clone [email protected]:Donnie/gcp-free-tier.git
Add the .json file from your service account as creds.json in root directory of the cloned repo.
Copy terraform.tfvars.example to terraform.tfvars.
Initialize Terraform:
1
terraform init
This creates a .terraform directory and downloads the required providers.
Step 2: Write Your Terraform Configuration
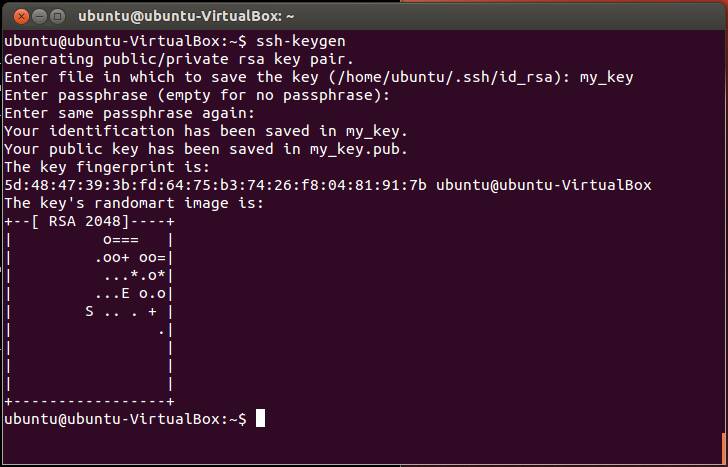
Create a ssh key pair using: ssh-keygen
Get the generated public key from .pub file and it to the .tfvars file
Do not forget to update the other values in the .tfvars file as required.
Step 3: Apply the Configuration
Run:
1
terraform apply
Terraform will create your compute instance and output its external IP address. Use this IP to SSH into your instance:
1
ssh user@external_ip
Best Practices
- Secure Your Credentials: Never commit
creds.jsonor the.tfstatefile to version control. If you have to do, make sure it is a private repository. - Monitor Usage: Although free, ensure you stay within Google Cloud’s free tier limits.
- Clean Up Resources: Destroy resources when no longer needed to avoid accidental charges.
Run the following command to destroy your instance:
1
terraform destroy
Conclusion
Google Cloud’s free tier provides an excellent platform for experimenting with cloud services. It is also sufficient for running a mid-scale Wordpress blog.
If you feel something is not clear, and needs further explanation, please feel free to leave a comment below.